To-Dos, Before Our Session Begins
Why Chores Before Our Session Even Begins?
This session is designed to be intermediate level environment in live seminar/lab style. To follow along, we need to have the same tools to work with. We are completing setups before our session so that we can dive right into the good stuff in our session.
Please ensure all setups in the “What Setups Do We Need?” completed before joining the session.
What Setups Do We Need?
- Personal laptop.
Windows OS preferred, as I will be using a Windows laptop for the session.
Why Personal laptops?
- Company-managed laptops tend to have restrictive IT policies that tend to prohit us from installing the tools as we need.
Setup How-tos
How to Get Started with Python?
There are 3 parts:
A software “understands” Python lanugage and commands your computer accordingly. This software is also called “Python”, yes, the same as the language name.
Another software helps us to manage different yet powerful “plug-ins” to our vanilla Python environment. Something called “Conda” comes in here. (Yes, unfortunately given Python, we will be dealing with a lot of “snakes” 🐍. Please don’t worry, the snakes here are quite nice and none of them bite. That’s a promise… 😎).
A fancy text editor helps with writing and evaluating Python syntax. Considering we will type many characters, words etc., having a helper boosts productivity makes a day-and-night difference. We will go with the favorite among the cool kids in the analytics community, called “Visual Studio Code” (“VS Code”). (No, this one doesn’t involve any snakes.)
The good news is, there is a software called “MiniForge” (Surprisingly, no snakes …) that can take care of Python and Conda altogether. Please see below Install MiniForge. 👇🏻👇🏻
Install MiniForge
⚠️ Please note:
- A detailed walkthrough for Windows OS user is introduced here and a reference video for macOS users is provided here.
- The Anaconda or Python version below or in the referenced macOS videoes might not be as recent as you will see, but the installation process will be the same.
For Windows OS users:
Head to MiniForge download website, https://conda-forge.org/download/. (yes, even the website is called “conda-forge”, we are downloading “MiniForge” still. 😇) and download installer file for Windows OS.
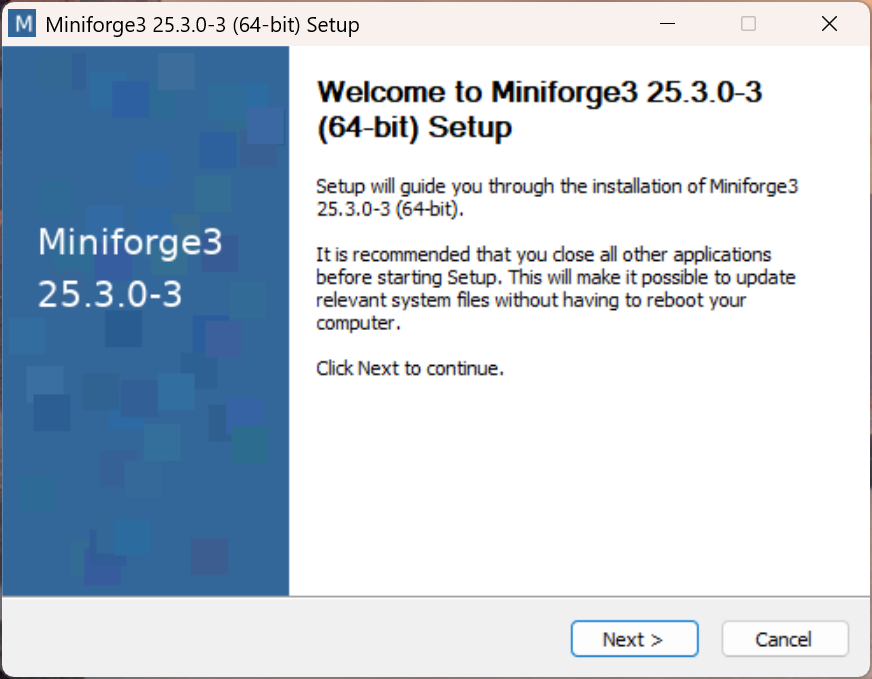
Open the downloaded installer and it will greet you like the following:
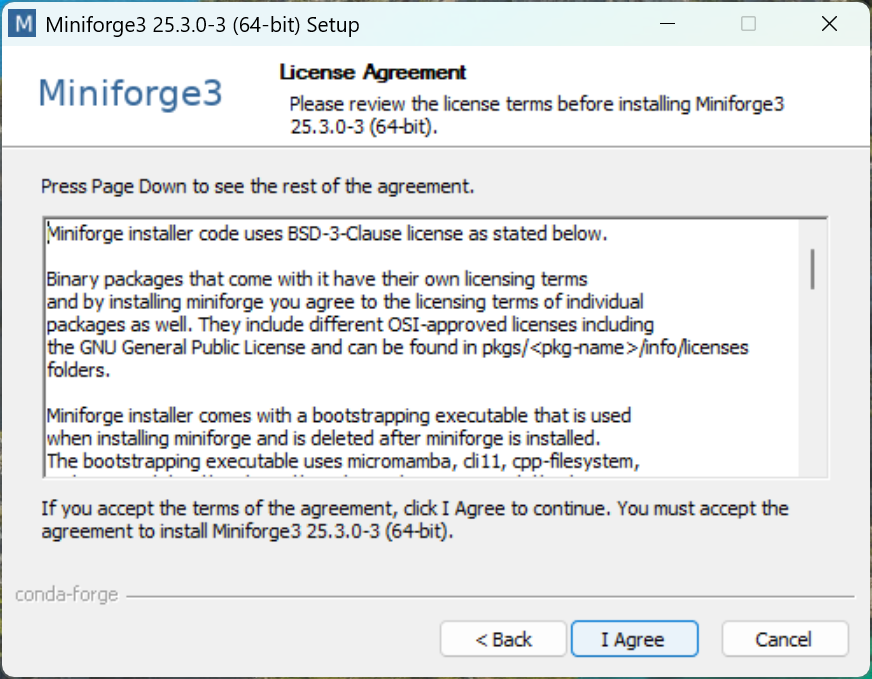
- Agree to user agreement.
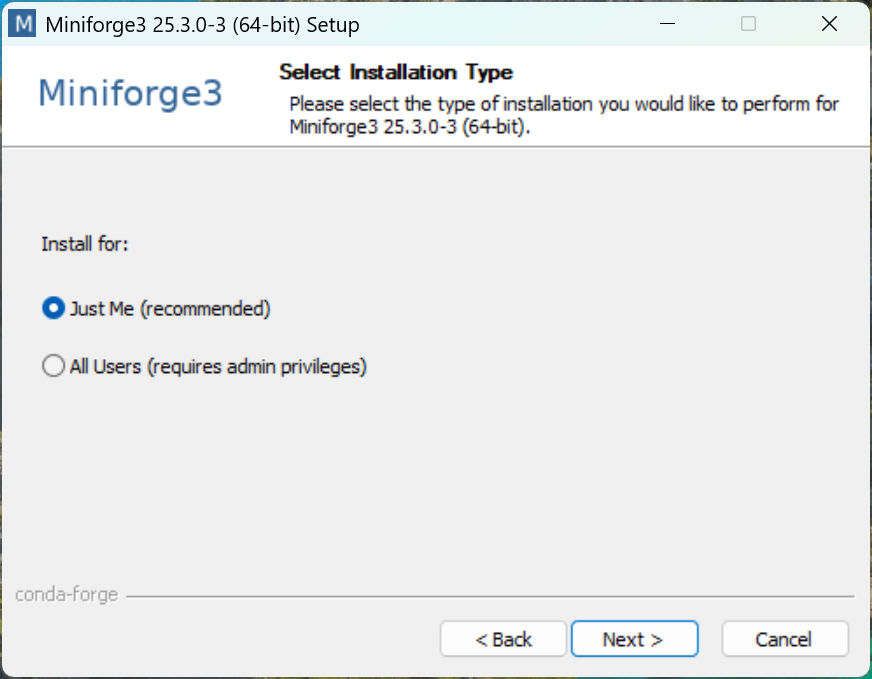
- Go with just install for the current user (“Just Me”)
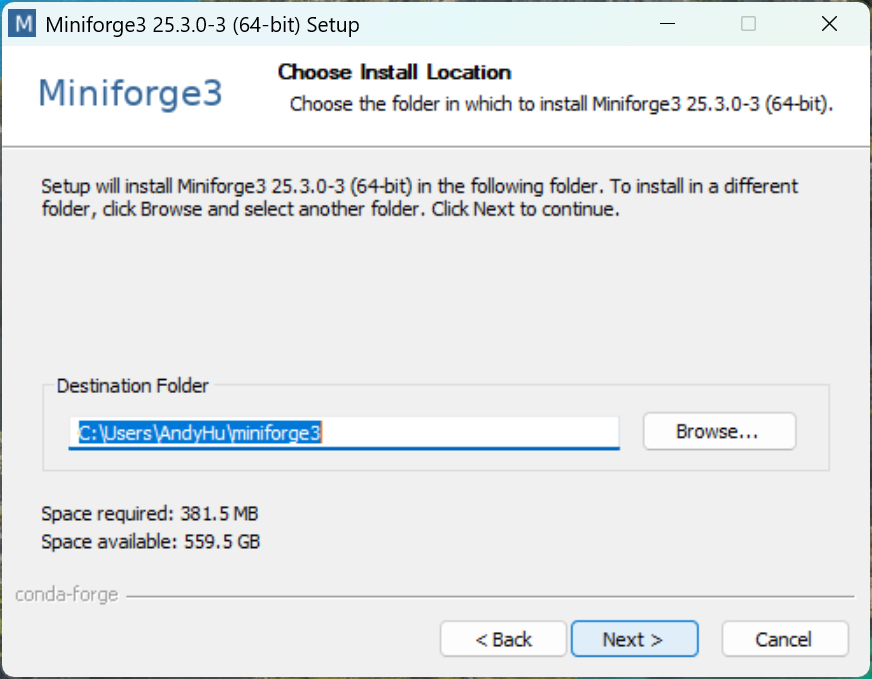
- Go with the default file path
- Make sure the following options are selected.
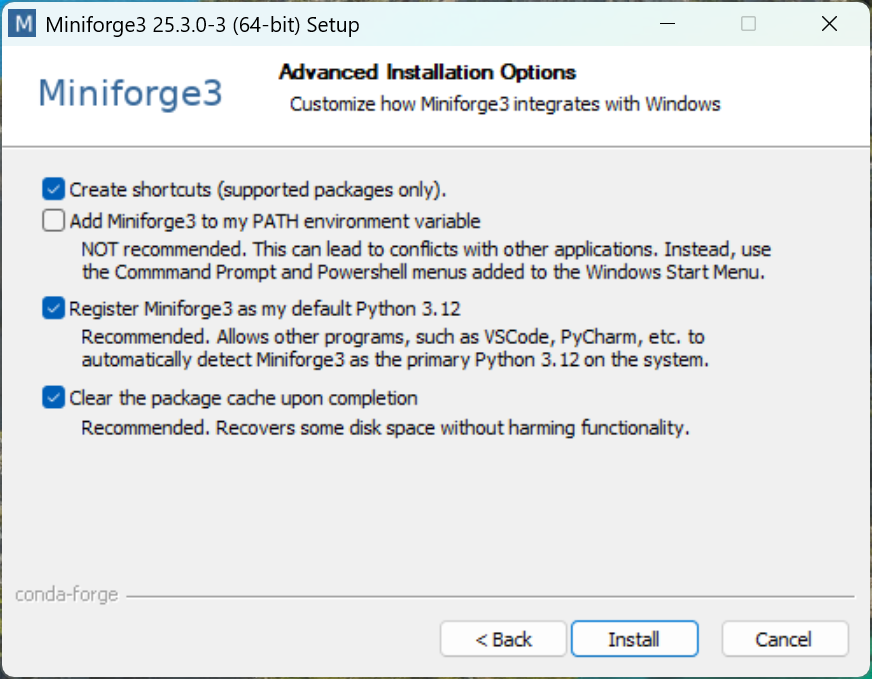
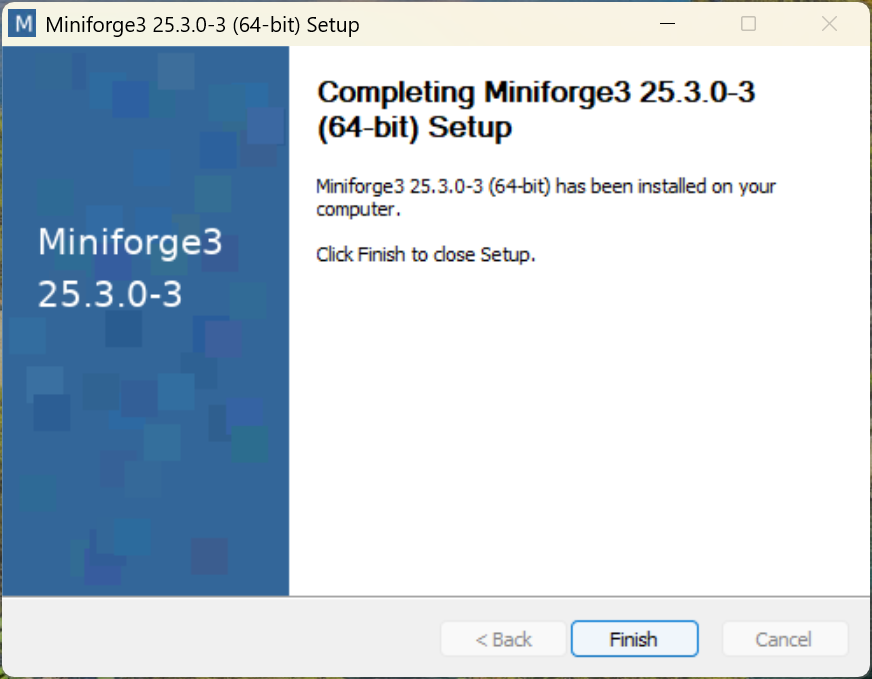
- Proceed to finish installation
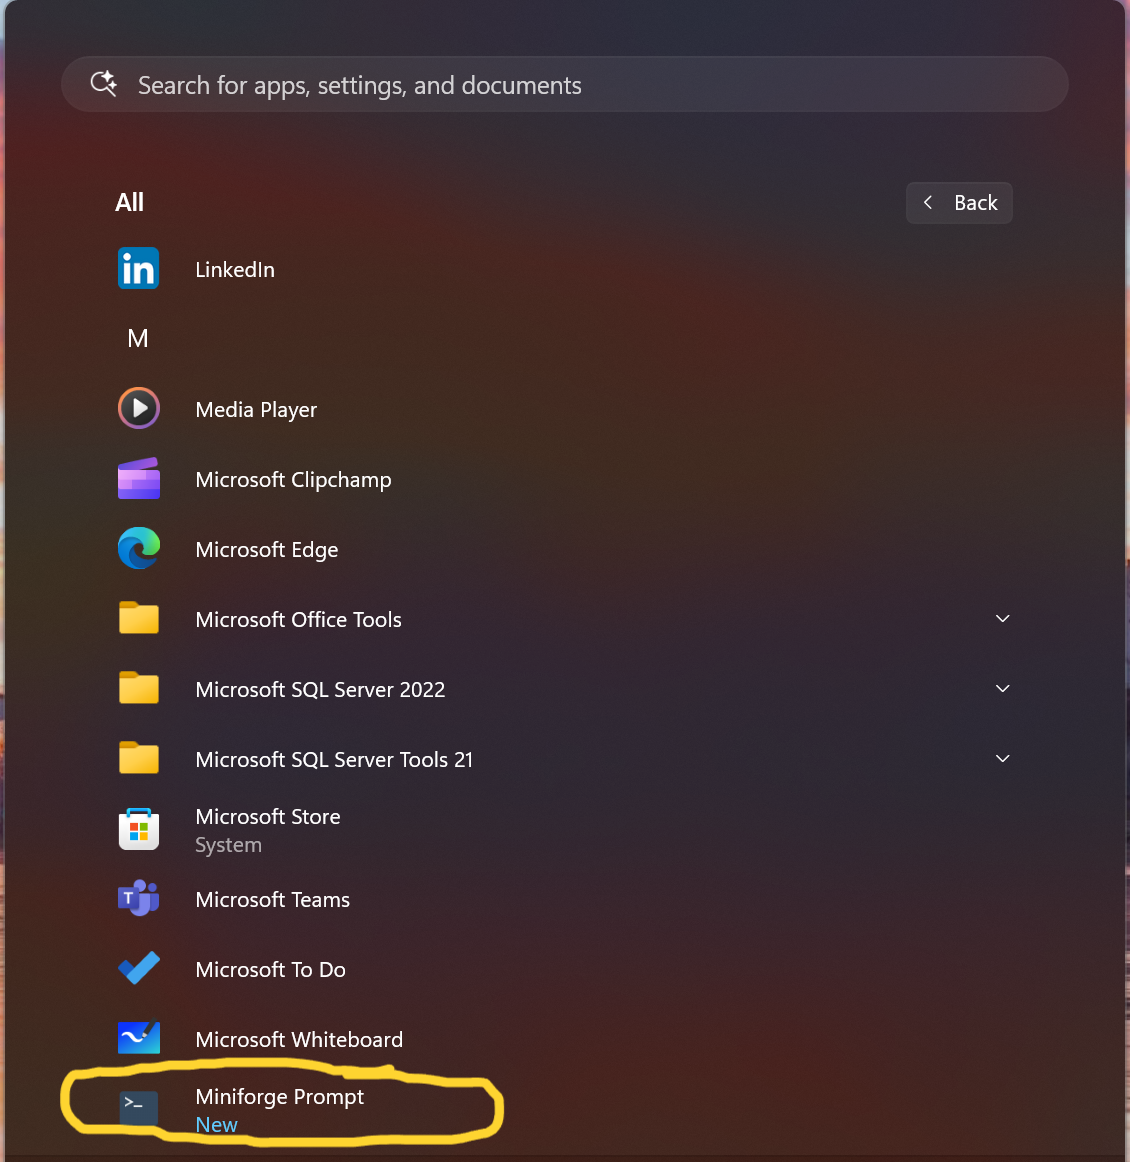
- In Start Menu, notice that there is something new called “MiniForge Prompt” and click to open it.
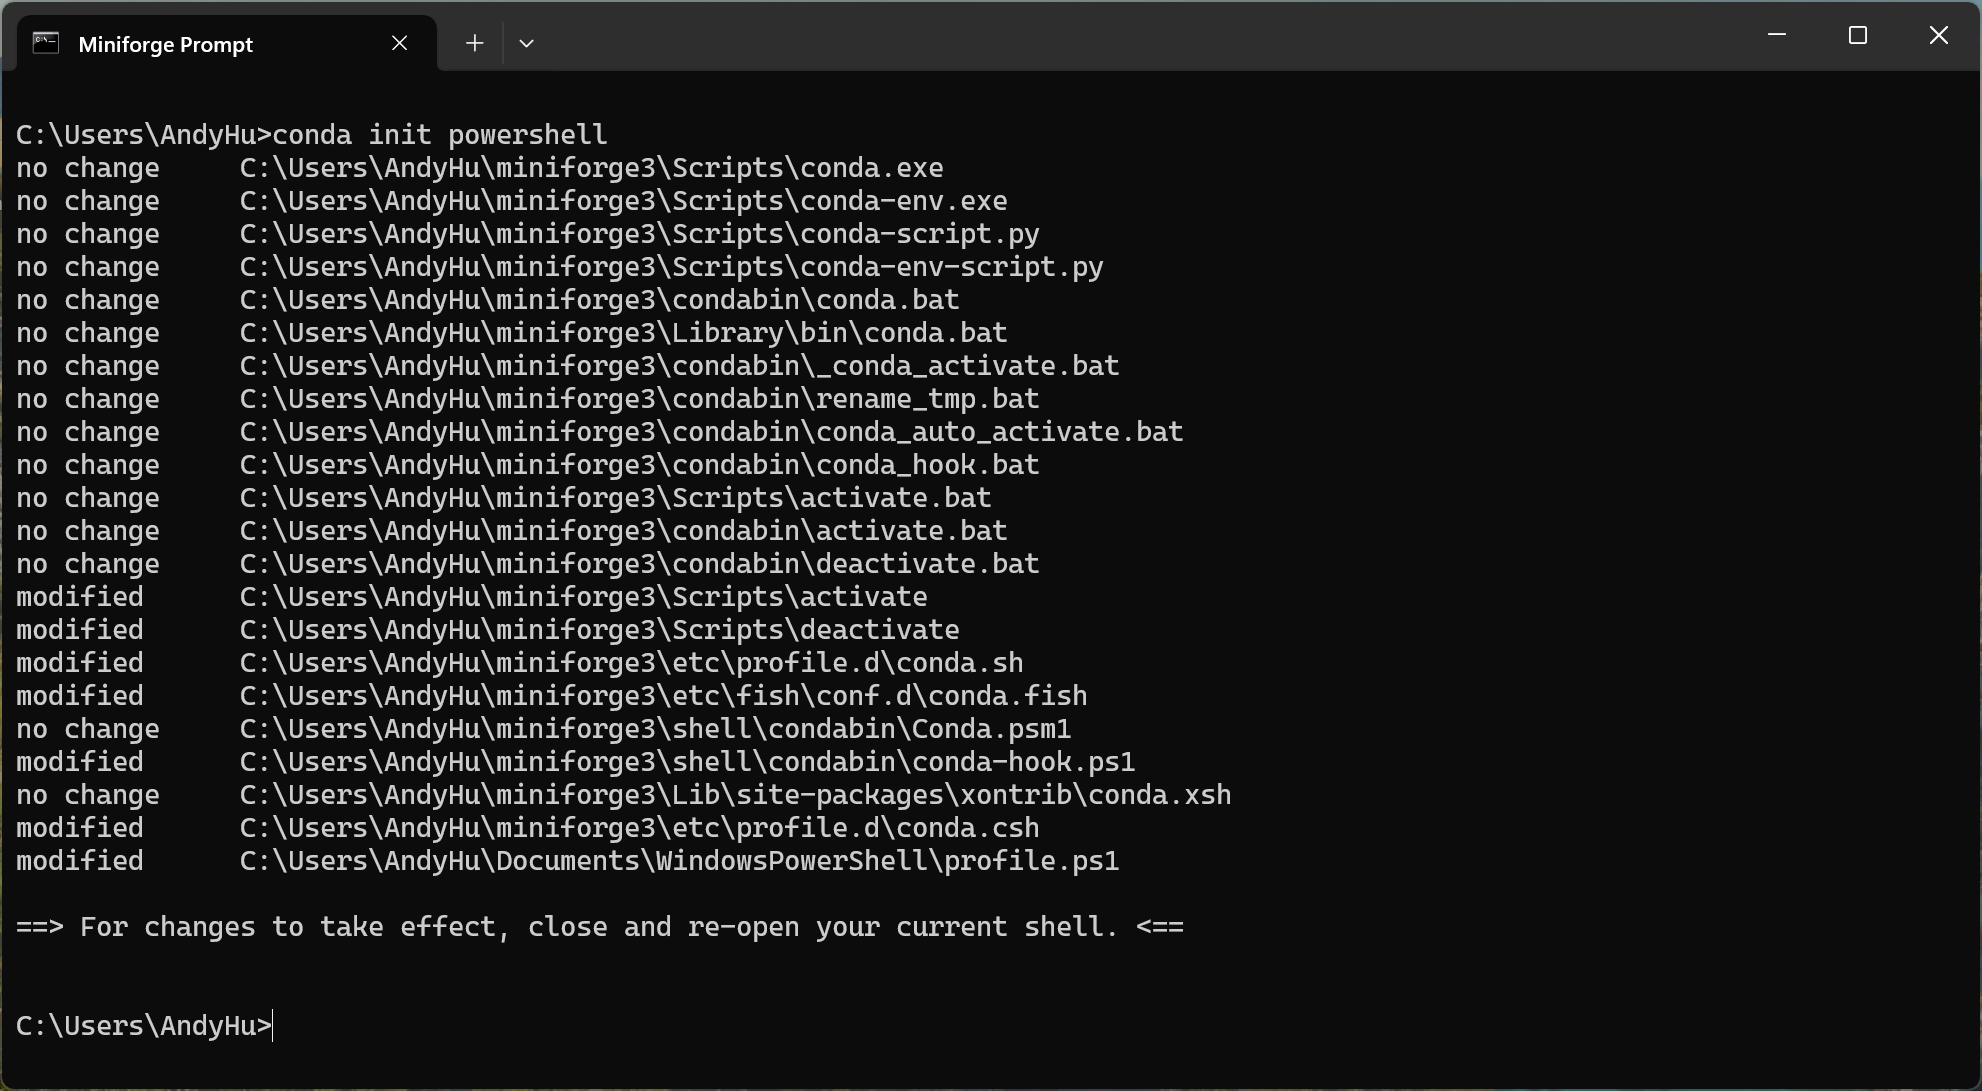
- In the open MiniForge Prompt, type the following and then press Enter key.
conda init powershell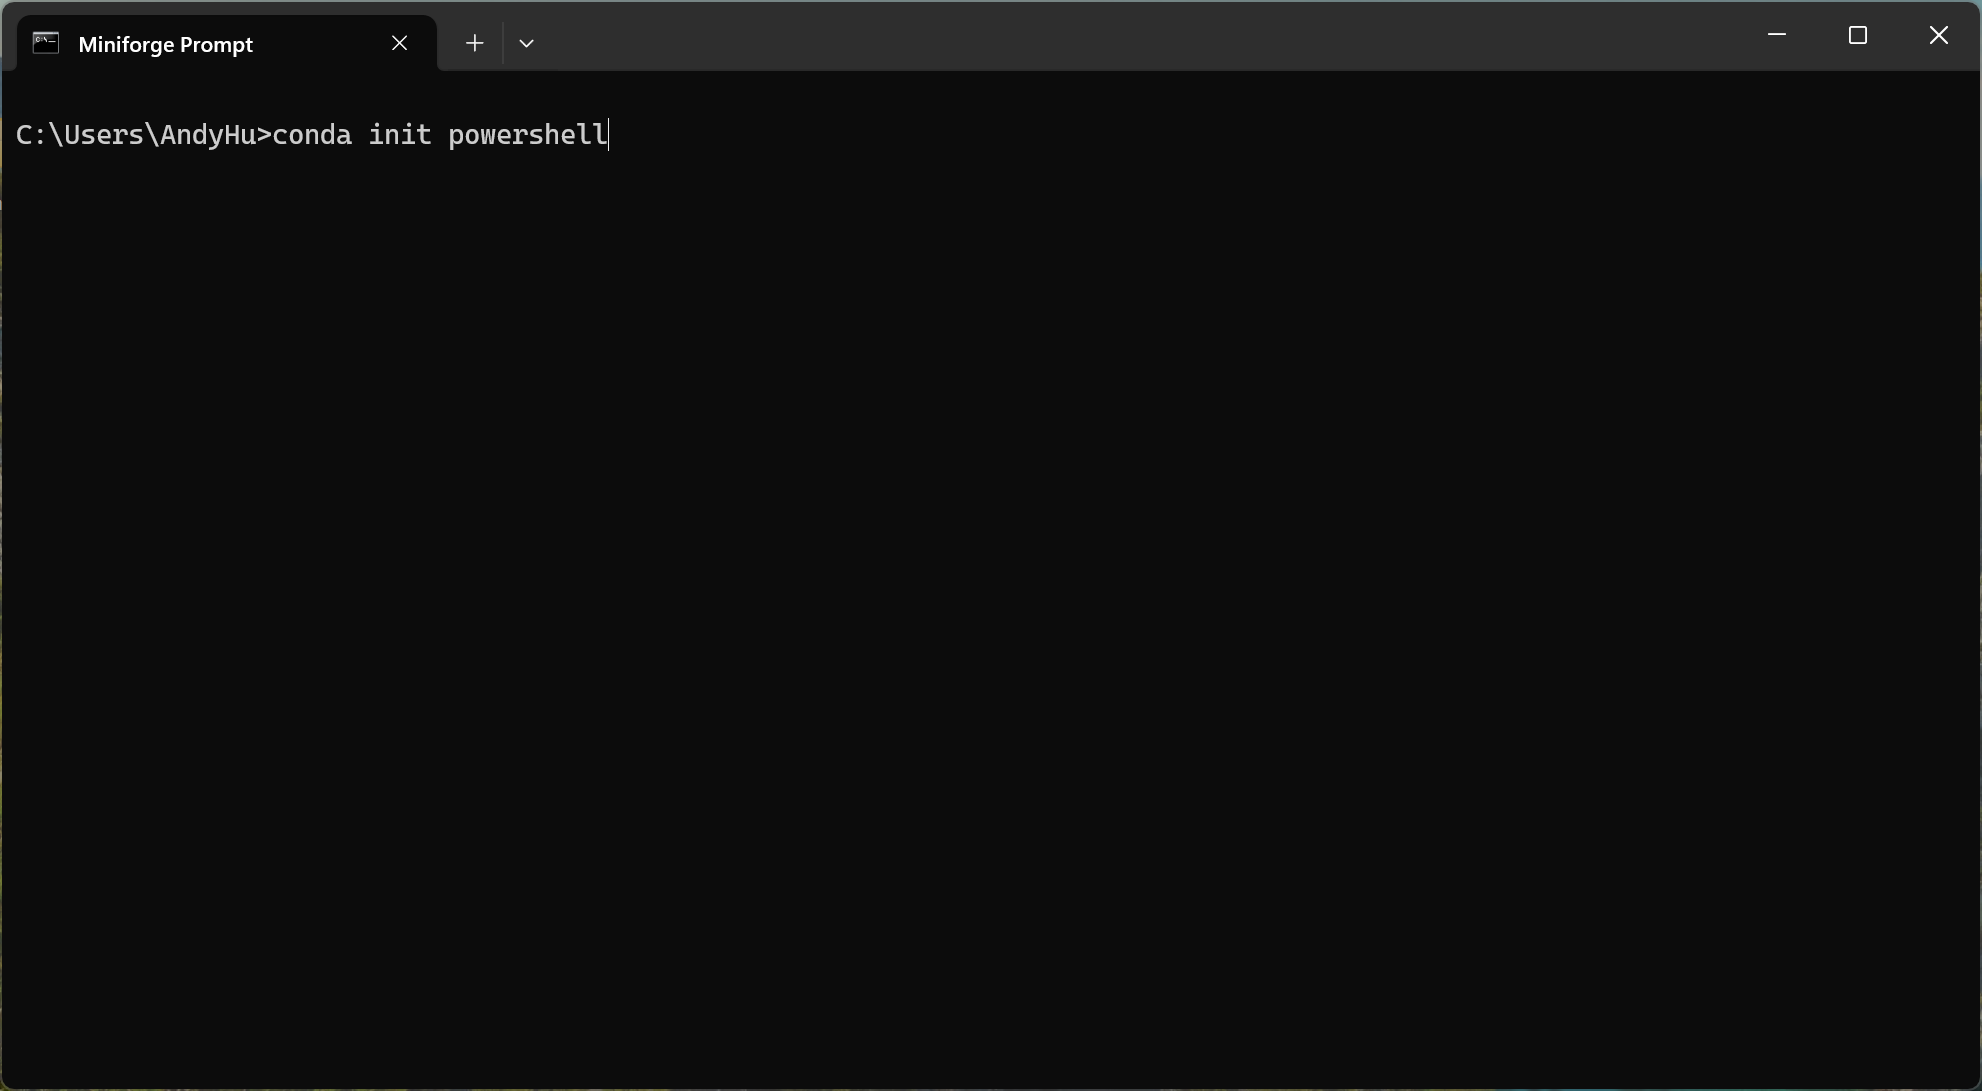
- You should be able to see the following:
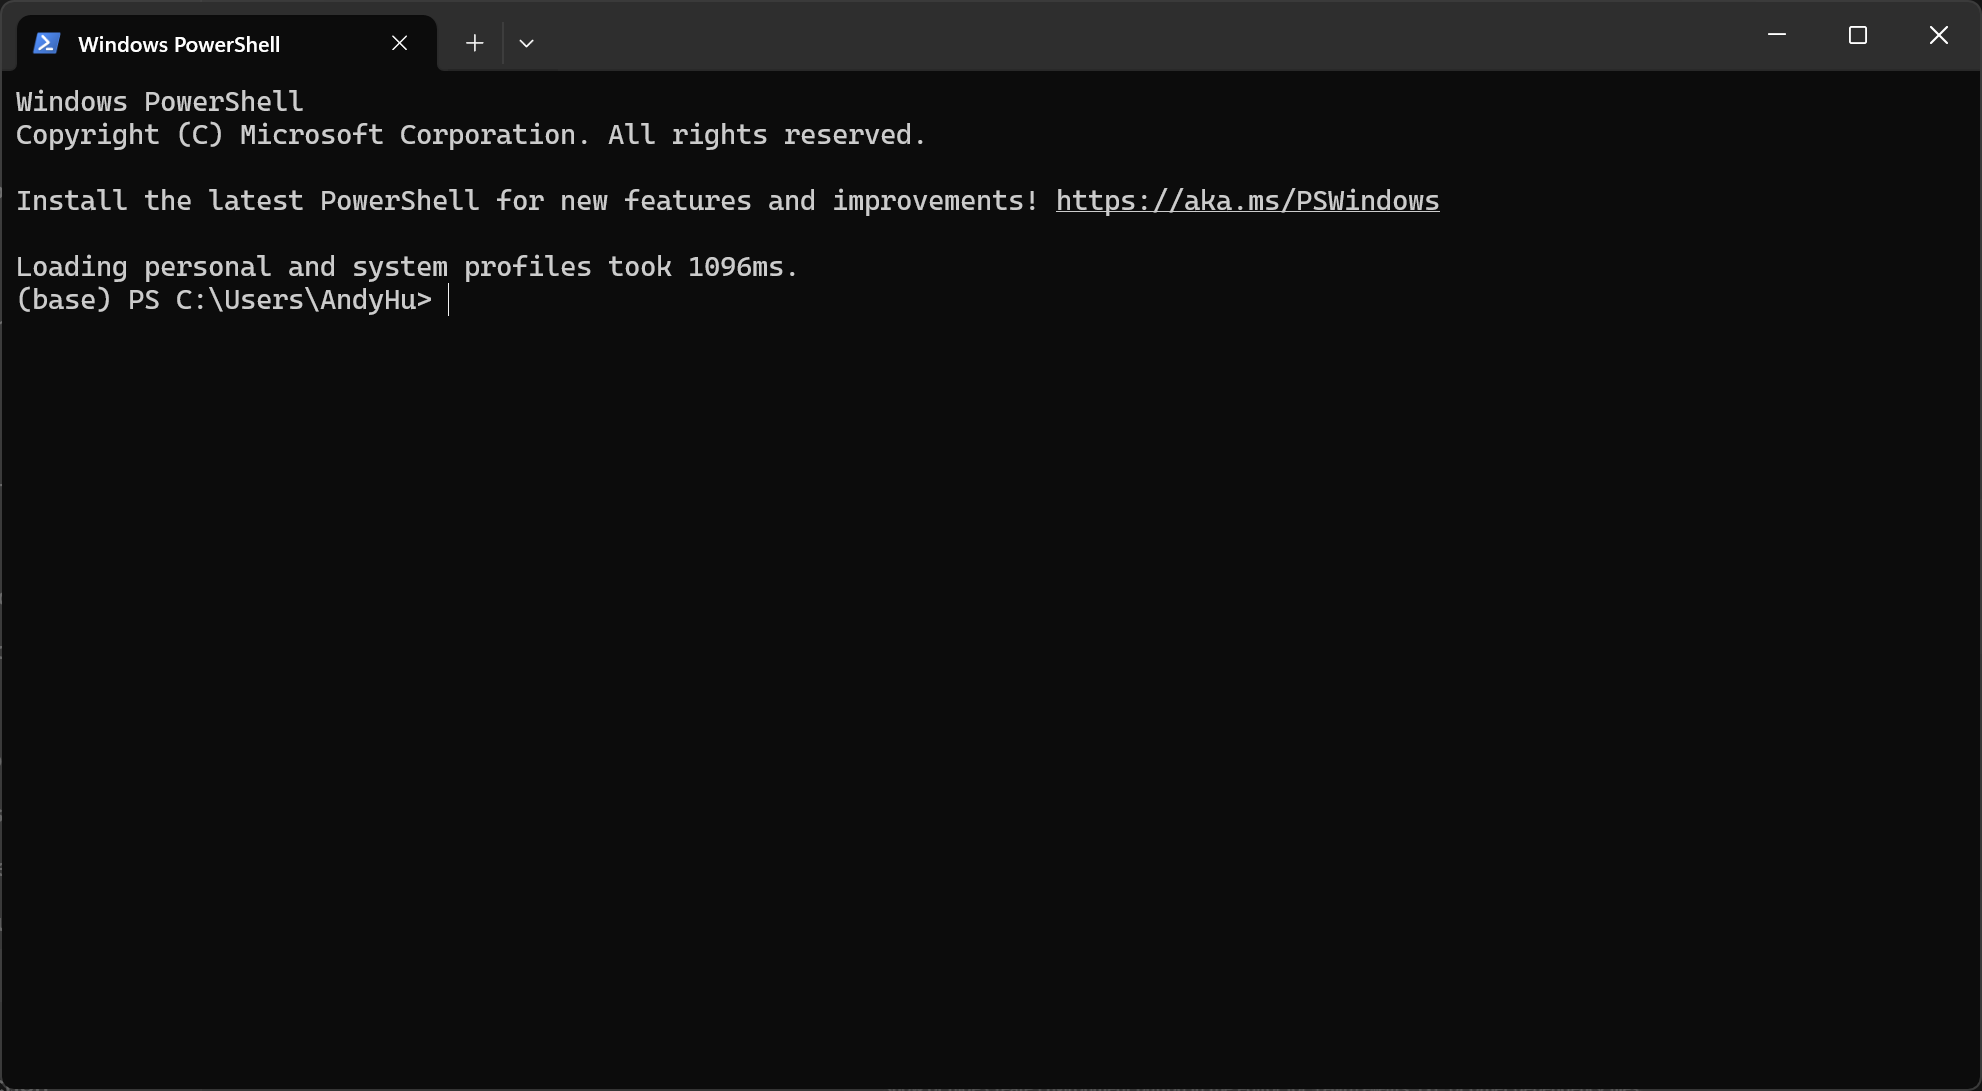
- Close the MiniForge Prompt window and open Windows PowerShell, you should be able to see the following.
- Type the word Python in the command line, you should see the confirmation of a Python found!
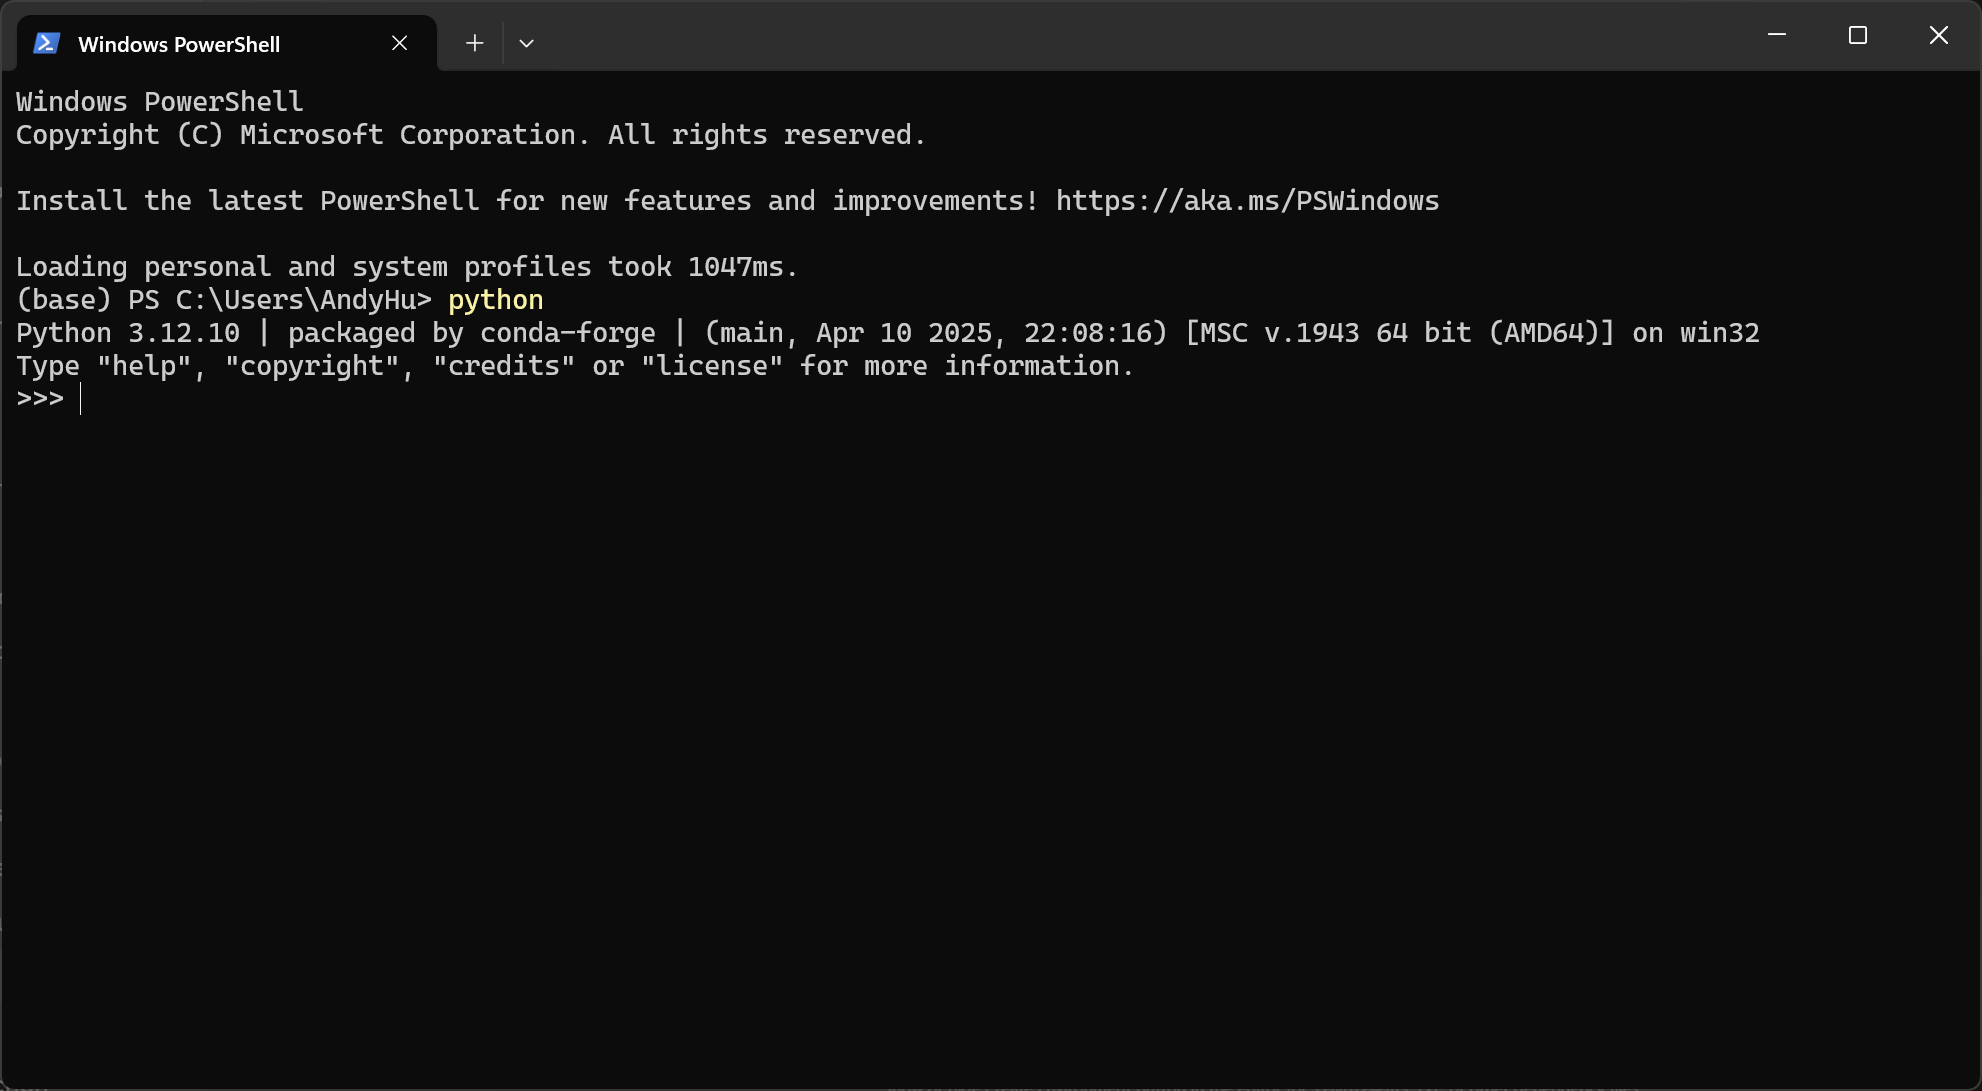
🎉🎉 That’s it! You have reached to the finishing line of installing MiniForge and Python!!
Now move on to the last piece, install VS Code. See next section. 👇🏻👇🏻
Install Visual Studio Code
⚠️ Please note:
- A detailed walkthrough for Windows OS user is introduced below and a reference video for macOS users is provided here.
- Walkthrough - Install VS Code on macOS
- Please start watching at 1:50 into the video. This video starts with installing Python and we have already taken care of that previously.
- The VS Code version below or in the referenced macOS videoes might not be as recent as you will see, but the installation process will be the same.
For Windows OS users:
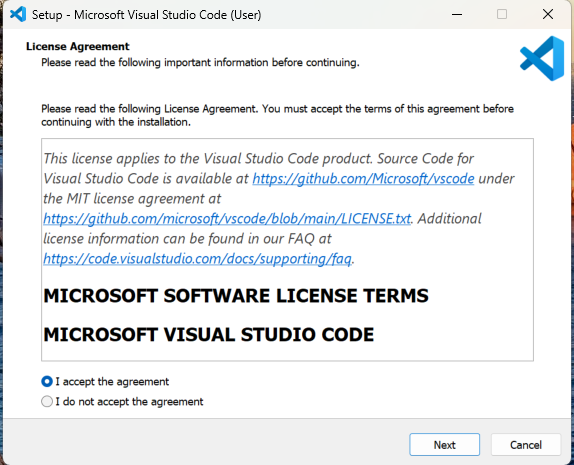
Head to Visual Studio Code Download website and Download the installer that suits your operating system (Windows/macOS).
open the installer and begin the installation process. A series of screenshots are provided below for references. We pretty much follow the default settings.
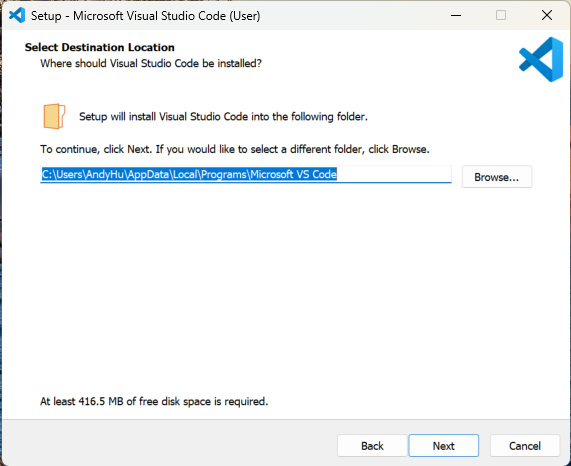
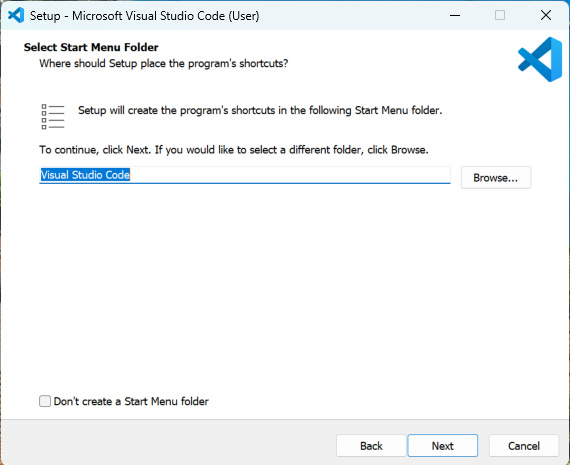

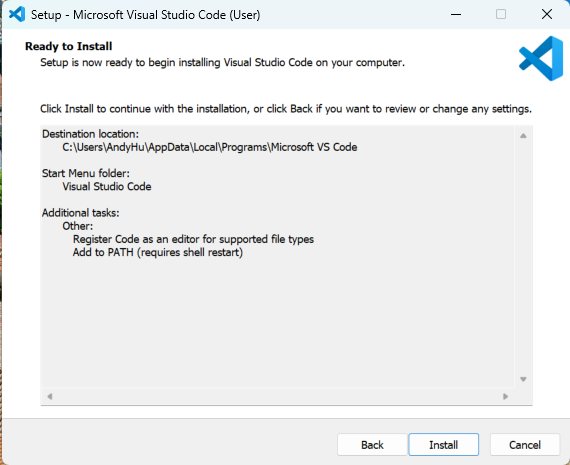
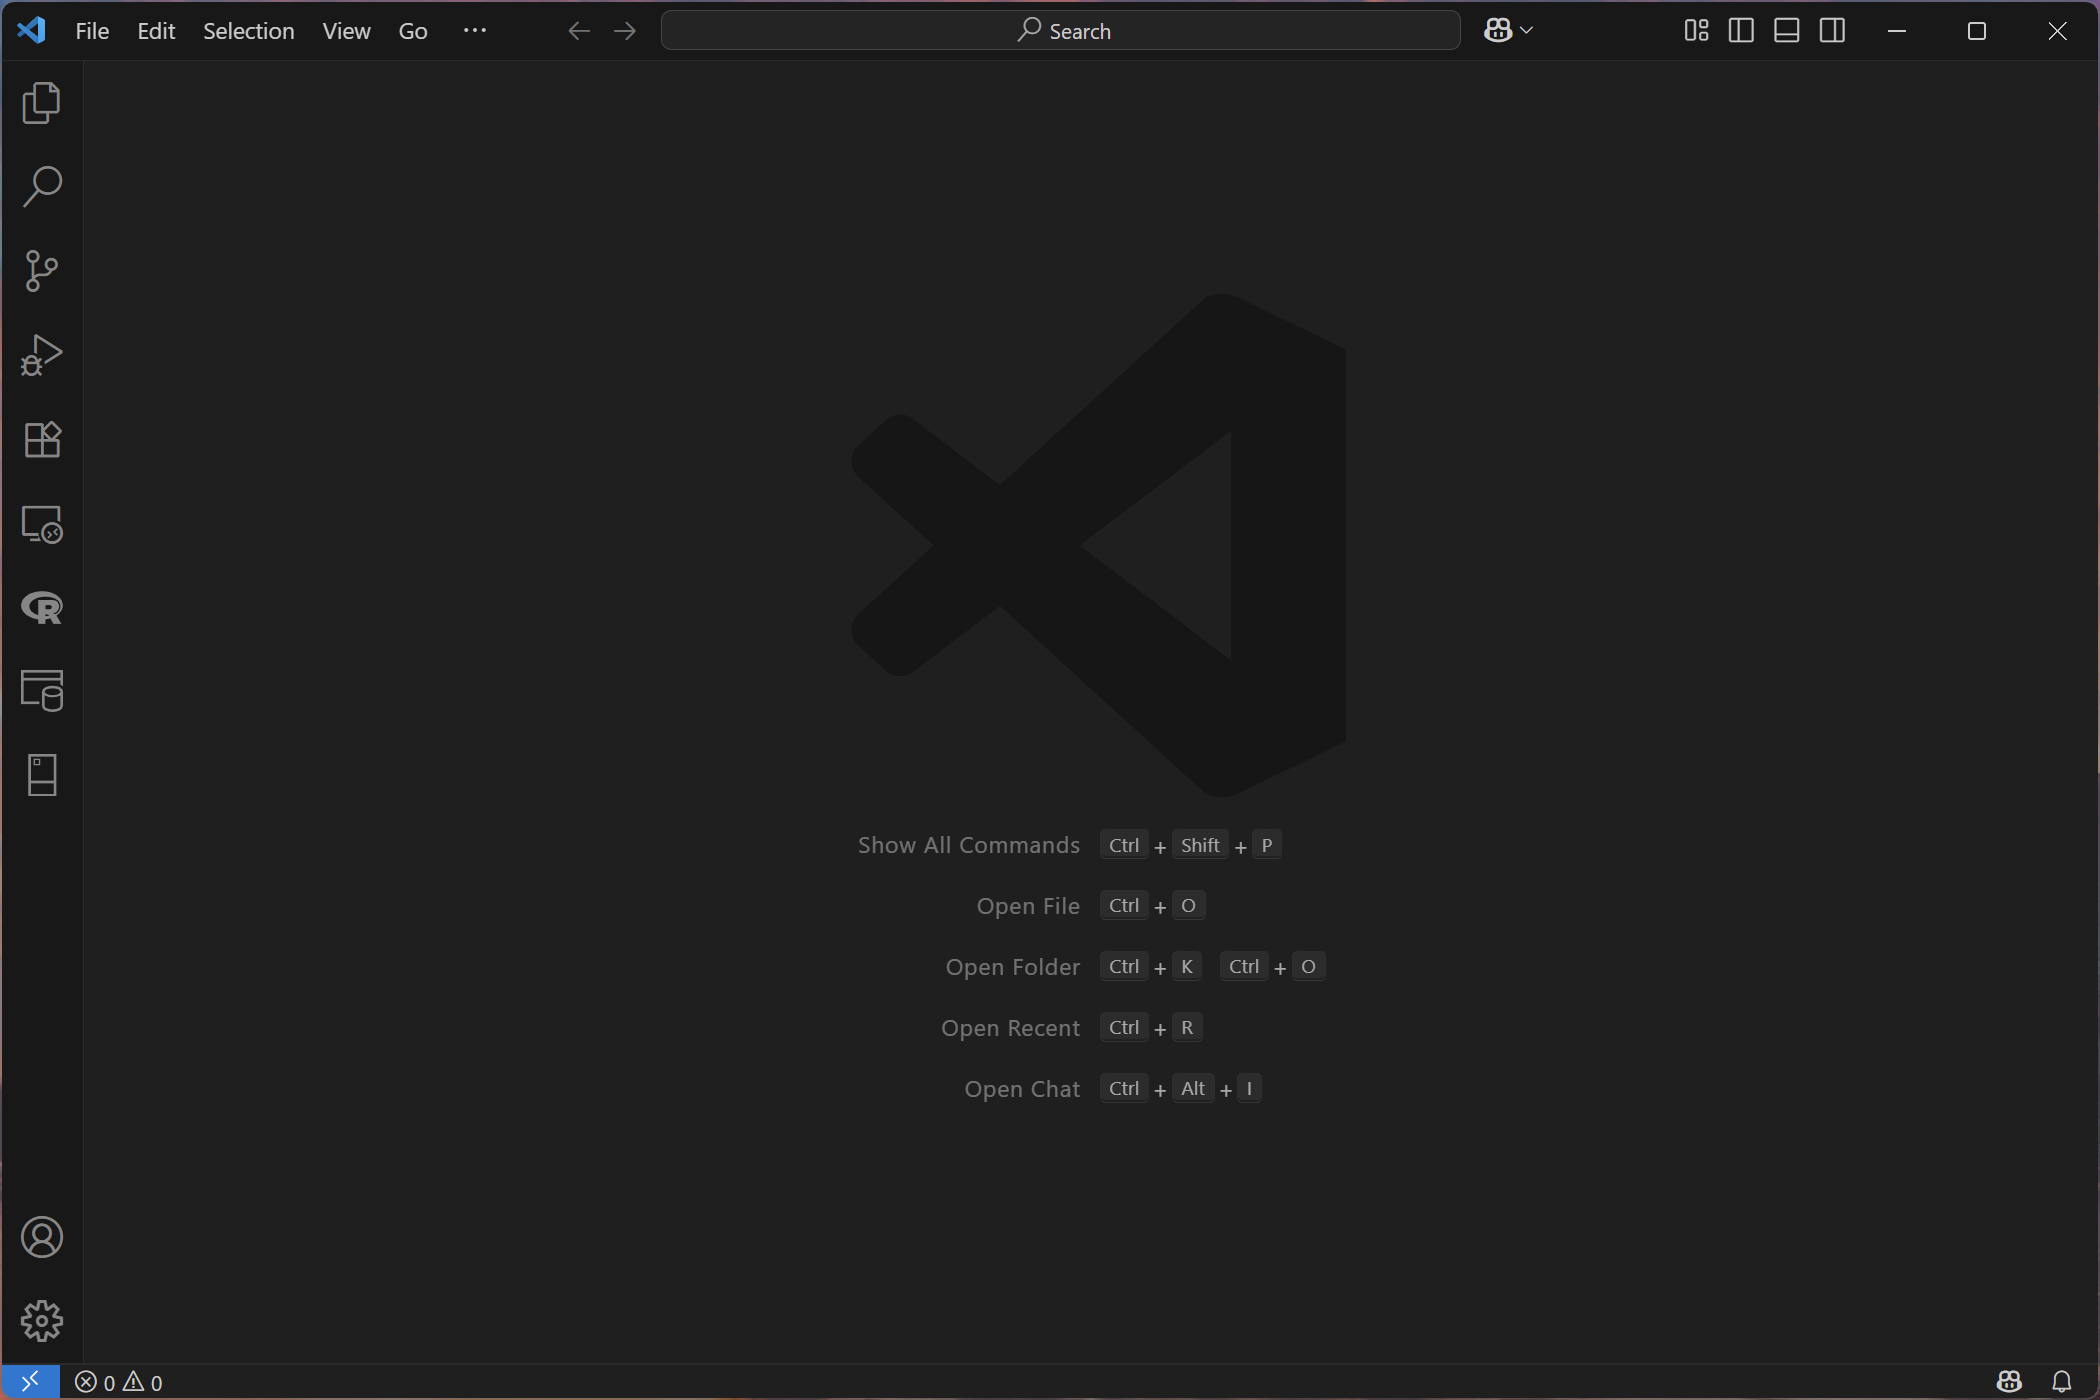
🎉🎉 That’s it! You have finished installing Visual Studio Code!!
How to Install Quarto?
The curating company, Posit, makes Quarto pretty accessible for all major operating systems. There are many publicly available walkthroughs to install Quarto. I will recommend one for each major personal computer environment here:
Please note that the Quarto version in the referenced videoes might not be as recent as you will see, but the installation process will be roughly the same.
Special Credit
This website that you are reading, guess what? I made it with the help of Quarto!!